Adding a second HDD to Macbook Pro
Optical media is fast becoming obsolete, there’s no denying that. If you are in denial, then you probably didn’t experience the fate of then ubiquitous floppy drives, or maybe you are one of those few who still rely quite a lot on optical discs. Well my point is, if you don’t find ourself in need of that DVD drive in your laptop, especially on a Macbook, where empty real estate is hard to find (see pics of the internals) and wish you had more HDD space, then read on to find out how you can swap that DVD drive for a second HDD… Firstly, I want to make it clear that this task will need you to open up your laptop and expose all the delicate internals. If you are not the type who has opened up electronic goods and put it all back together (albeit with step by step instructions), then I highly recommend you stop right here, and maybe just get an external drive for your needs. Are you still with me? Well then, come along 🙂
I did this on my late 2006 non-unibody macbook pro, which had the 6x super drive (PATA), but the same can be done with any notebook. Just make sure you get the right caddy (the dvd drive like case which holds the HDD) for your laptop and try to find proper instructions to get to your DVD/CD drive in a non destructive way. If you are with a mac, I highly recommend www.ifixit.com for their wonderful step by step instructions with key photos. They have guides for a lot of gadgets including game consoles, PCs, phones and even cameras. In my case, I followed their instructions listed here. Please make sure that you take precautions to deactivate any static on you by touching metal surface and if possible avoid touching any circuitry.
So here’s what you will need.
- An optical drive enclosure with PATA to SATA converter chip to host the second hdd. I bought this one from ebay for $18 : HDD Caddy (Amazingly delivered in 5 days from china)
My version of MBP had a PATA optical drive, so I had to pick this, but if yours supports a SATA drive, then you need to pick the SATA based caddy (usually available for a buck or two cheaper). - A SATA 2.5″ hard disk drive. I bought a 500gb WD Caviar blue, but it’s up to you. Just be aware that there are two kinds of these 2.5″ drive, the usual 7mm thick drives that fit in most laptops and then there are the fatter 9mm thick drives which only fit in desktop replacement kind of laptops (the fat ones). For me, I needed a 7mm one.
- For my Macbook pro, I needed a T6 torx screwdriver and a 00 sized Phillips screwdriver.. but this info is depends on your machine. If you find instructions on iFixit, they list the tools needed as well
- Some time and patience, and of course the skill 🙂
The most significant part of the instructions for this article would be available on iFixit’s website referred above. That involves opening up your laptop to get to the optical drive, and slowly and carefully removing the drive form the machine. But assuming you were able to get to it, the rest should be a walk in the part (relatively).
- Place the new 2.5″ hdd in the hard disk cavity on the optibay or hdd caddy. Make sure you align the connectors with the drive carefully before you push the drive in to fix it to the connector. I didn’t use any other means of securing the drive to the caddy, but I guess that wasn’t needed as there wouldn’t be any room inside the laptop once everything is put in place and sealed for the drive to wobble or anything.
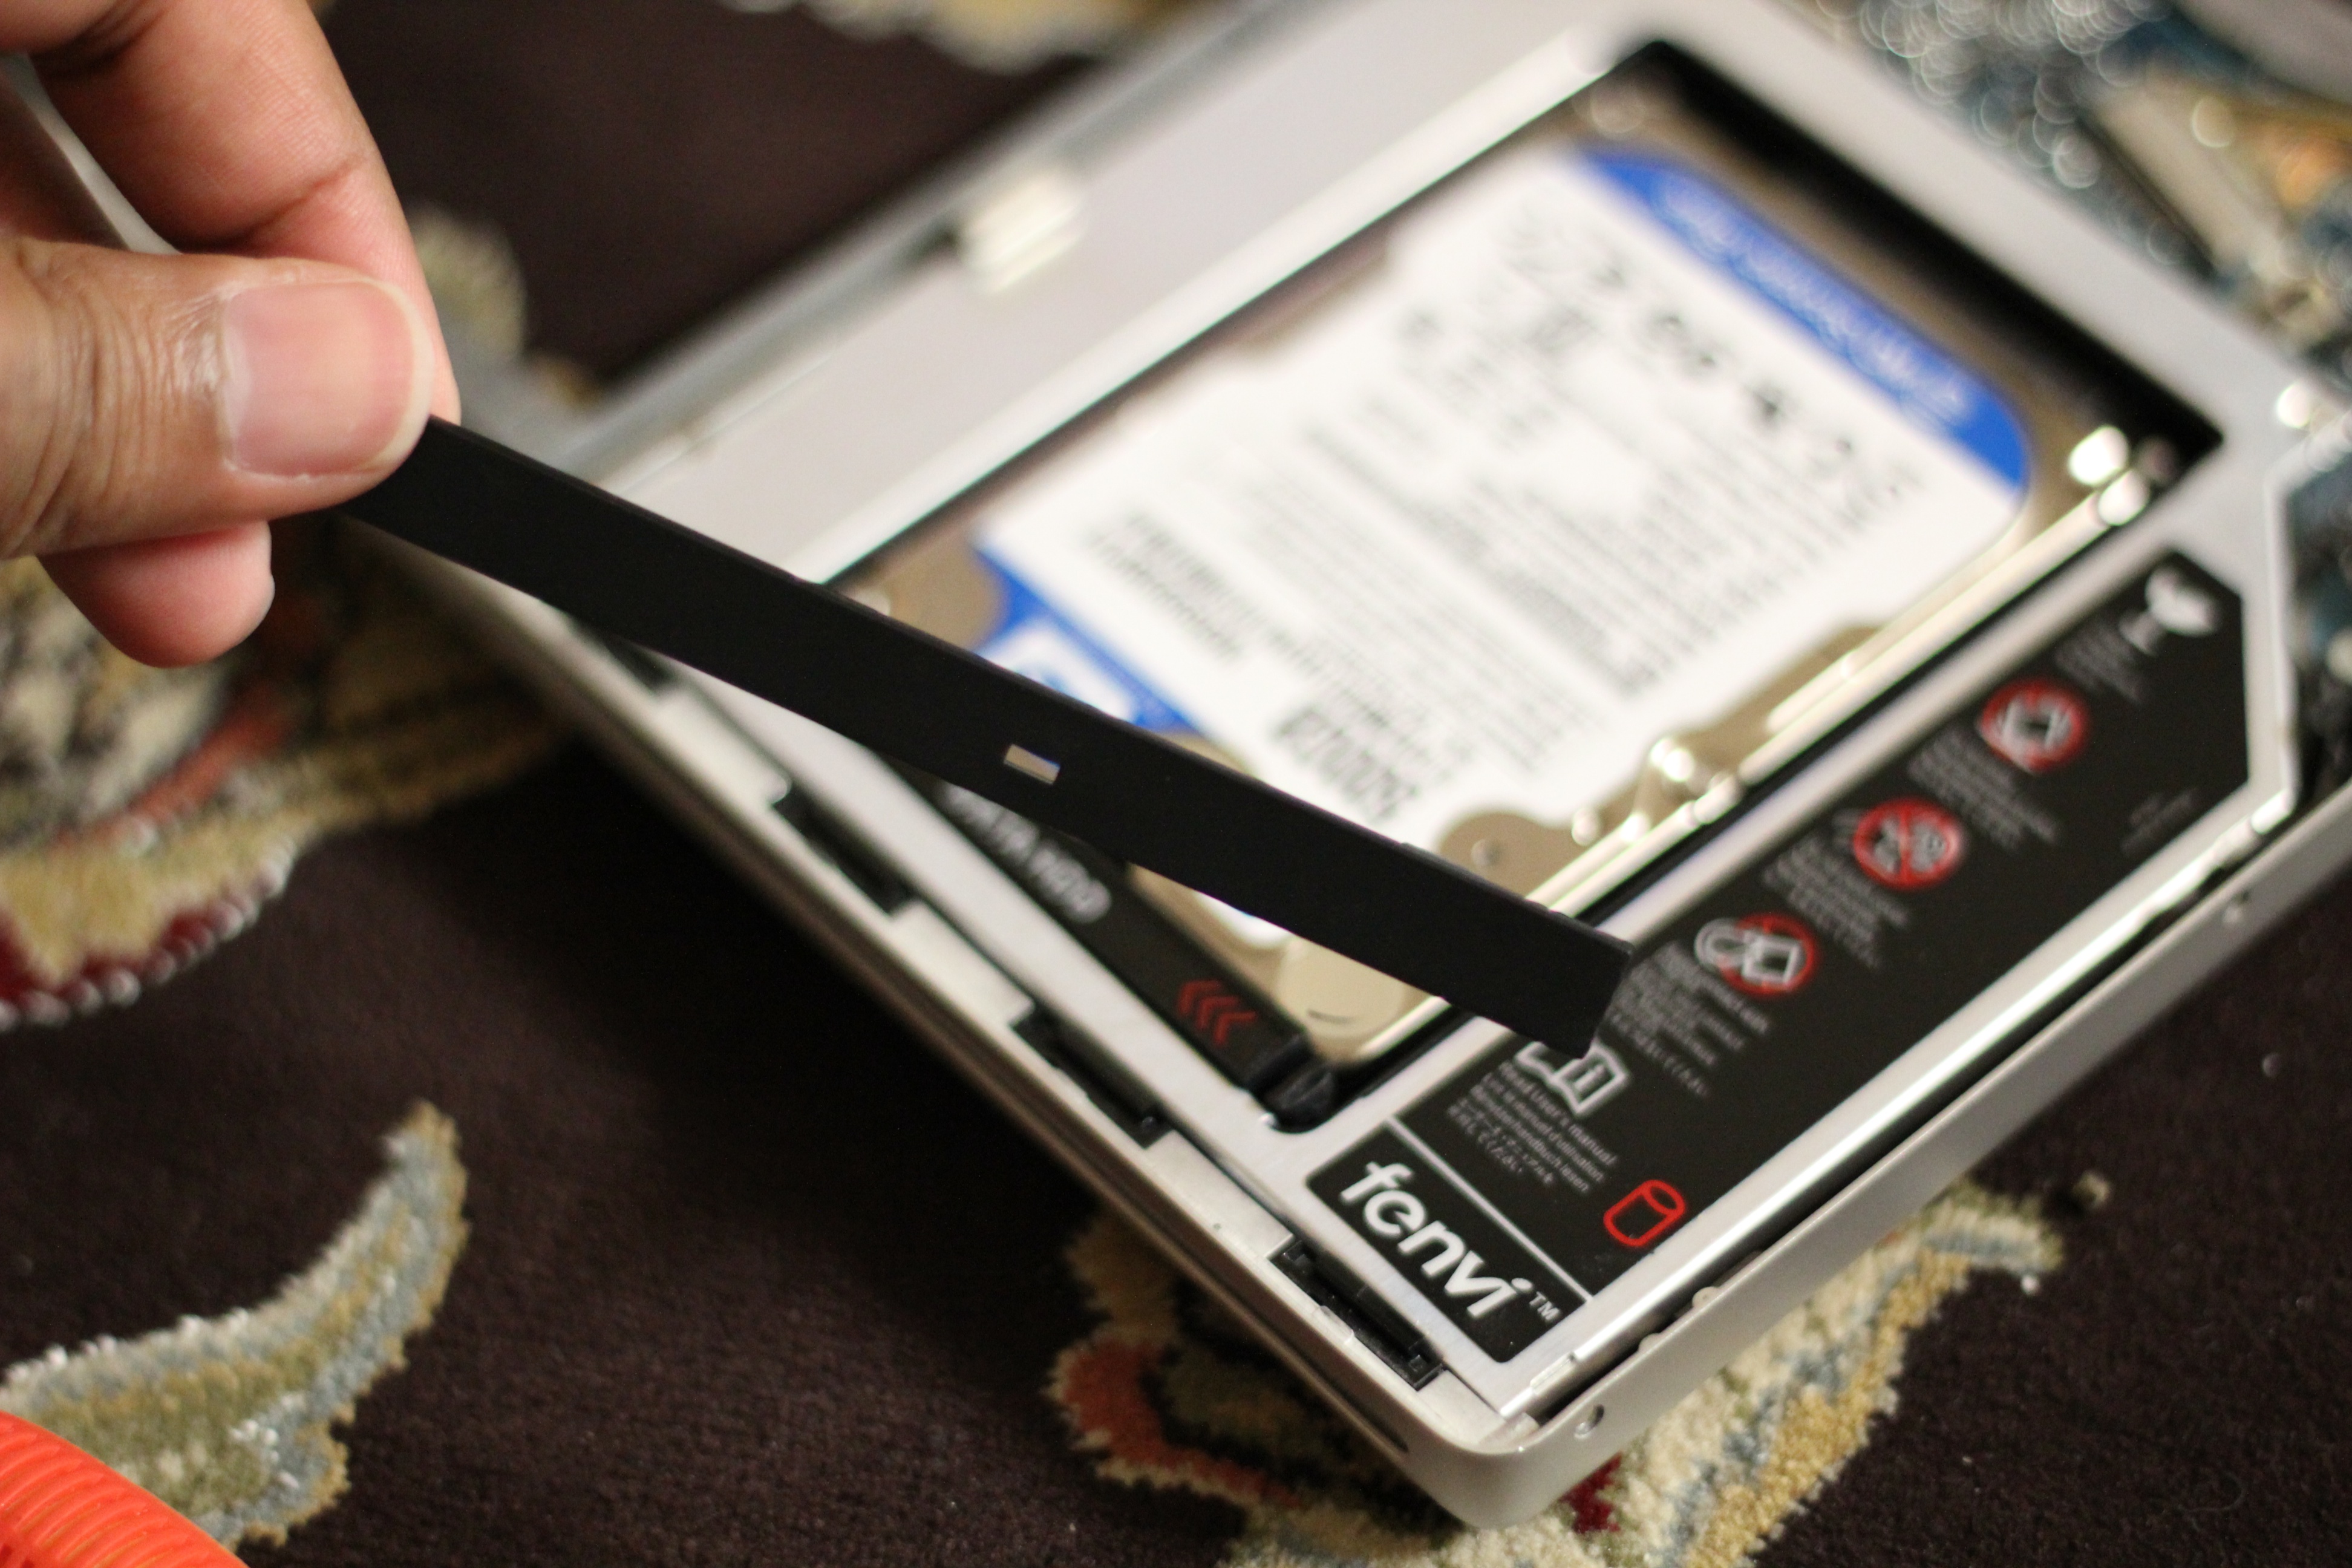
- Now, carefully pull the connector ribbon from the just removed optical drive (might not be relevant on other laptops) and place that on the caddy and then place the caddy in the slot where the optical drive was sitting. On my Macbook pro, I had to remove a plastic tab from one end of the caddy (see pictures below) before the caddy sat flush int he slot. Without that, I wasn’t able to secure the palm rest back on. If something like this were to occur on your laptop, please use your judgement before you go applying all your strength to get things in order or you could break something and make this all a nightmare.
- Don’t forget to secure the caddy to the frame using the same screws that were used for the original optical drive and connect the connector ribbon to the motherboard. After that just follow iFixit’s instructions (or whatever you followed earlier) in reverse to put it all back.
That’s it really, you should now have a dual hdd setup on your laptop. Your laptop should recognize the second hard drive just like it did the first one, and then you can use your favorite software to partition and format it for your use. I did it all to get me more space for my pictures and videos which I have been shooting a lot lately but there are even more compelling reasons to do this. For instance you could setup your two HDDs in RAID 0 for improved performance or any other RAID configurations (as long as it needs only two discs) which wouldn’t have been possible with a single hdd.
Here are a couple more pics of the second hard drive inside my Macbook pro. One showing the plastic piece that I had to remove from the caddy before I could install it in my laptop.
Hope this post helped 🙂

